
How to Take Your own Newborn Photos
My heart goes out to all the Moms who aren’t able to have a professional newborn or fresh 48 session because of the Stay Home guidelines.
So today, let’s talk about taking your own fresh 48 or newborn photos.
I’m going to keep this pretty simple and user friendly so everyone can take beautiful, well-lit images of their sweet new baby. Below I am sharing the three main steps and detailed tips for each. These tips will work for Moms with a DSLR or iPhone. If you aren’t an expecting mom there are still some great tips inside for shooting with window light indoors!


Step One - Prepare
Prepare Your Gear
If you are using a DSLR camera: dig your camera out, make sure your battery is fully charged, clear or format your memory card, and clean off your lens with a soft lens cloth.
If you are using an iPhone: charge your phone to 100%, make sure you have plenty of storage in your camera roll, turn to silent mode, and clean off the lens on the back of your phone with a soft lens cloth.
Prepare Baby’s Look
You will also want to prepare what Baby will wear. My best advice is to stick to one look that you really love. A pretty swaddle or wrap and a cute hat or bow. Wraps are preferred over outfits because at this size, outfits tend to swallow baby and don’t usually photograph well.
The reason behind choosing just one look; if you attempt too many looks you run the risk of Baby getting mad or Mom getting frustrated, and you also cut into the number of usable images you will get (more outfit changes = less shooting time.)
Instead, you can get several looks with one swaddle by changing out props and accessories. Things that make great props: teddy bears, letter boards, pretty quilts, and blankets. Have all of that ready to go and easily accessible.
Example: Swaddle alone. Swaddle add headband. Swaddle, headband, add teddy bear. Etc etc. This is an easy way to get several different looks without waking up Baby to change outfits.

Clara Jane & Jax…
is an amazing baby boutique in Batesville that has a great selection of photo-worthy wraps, swaddles, headbands, and hats. You can check out their selection and pick your favorite wrap for baby at clarajaneandjax.com. They are currently offering curb-side pick up and local delivery AND they have extended an exclusive coupon code for my Key Moments Mamas, use code SoLoved at checkout for 15% off regular priced items.
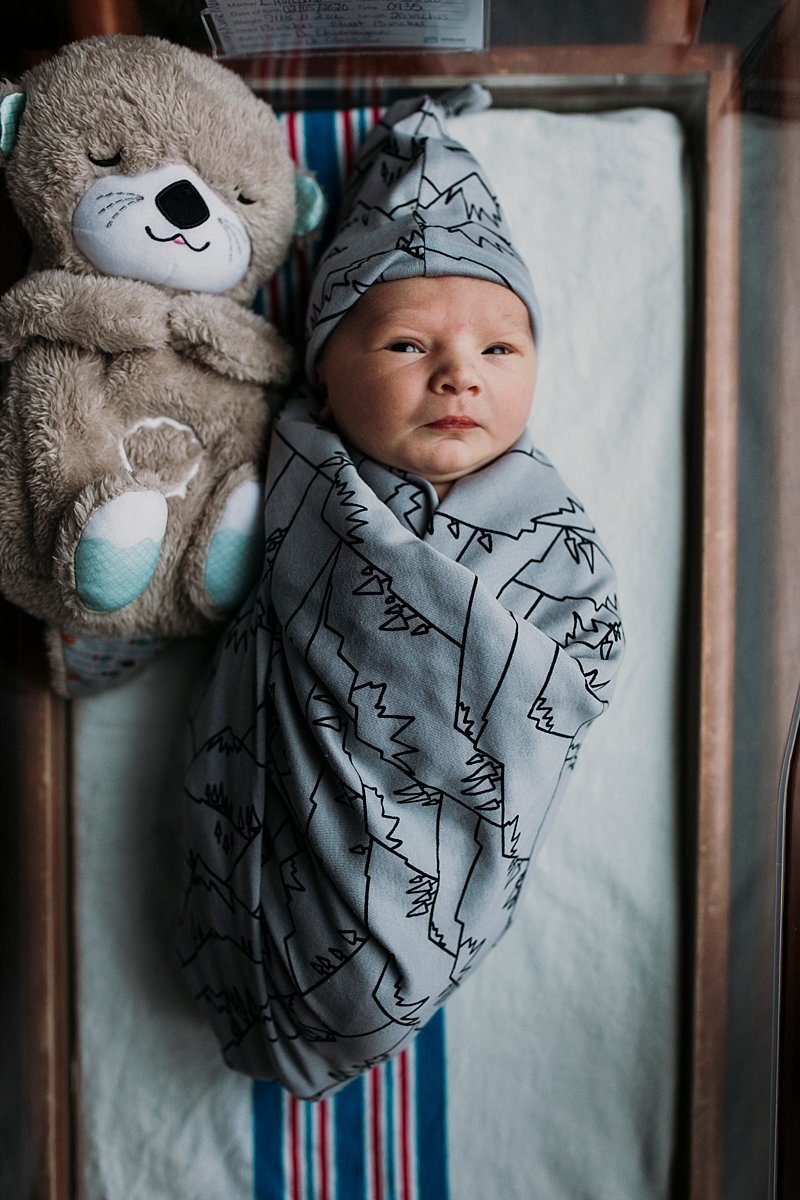
Pictured here is the mountain swaddle by Gigi and Max. This and many other trendy newborn wraps can be found at clarajaneandjax.com don’t forget to use code SoLoved at checkout for 15% off regular priced items.
Prepare for the Shoot
Remember, babies are much more cooperative and posable when asleep. It’s best to make sure the room is nice and toasty. Keep Baby awake and excited by giving a nice warm bath followed by a good feeding. After a burp and poop they are usually prime for sleeping and a great subject! Another tip to keep baby asleep is white noise. I usually run a space heater near where I am shooting. This helps keep baby cozy and provides white noise. There are also free white noise apps you can download on your phone.
Step Two - Set up the Shot
Lighting
If you are at the hospital: turn off all of the overhead lights. Place your baby in the bassinet parallel with the window.
If you are at home: notice which window gives you the most light and at what time of day. You will want to place your baby parallel to this window. Again, turn off any artificial lighting.

Set up
If you are home you can use a bean bag, a short table with a Boppy, or even the bed. Lay down a neutral blanket and remember, texture always adds interest; think faux fur or chunky knit throws.
Make sure all of your props are within arm’s reach and accessible, make sure you have a burp rag handy just in case, and remove any flakes from Baby’s nose and face. Swaddle and you're ready to rock!
Swaddling
If you are at the hospital: nurses are pro-level at swaddling, and I’m sure they wouldn’t mind a bit to swaddle your sweet little one for their shoot.
If you are at home: lay your swaddle out in an upside-down triangle shape. Place Baby’s head at the top on the longest length of fabric. The tip of the triangle should be at Baby’s feet. Take the left outer edge and pull over and across Baby’s chest and tuck under right arm tightly pinning Baby’s arm to his side. Take the tip at the feet and pull up and over Baby's right shoulder tucking behind. Take the tip on the right-hand side and pull tightly over and across Baby’s chest, tucking smoothly behind his back. This is your basic swaddle.
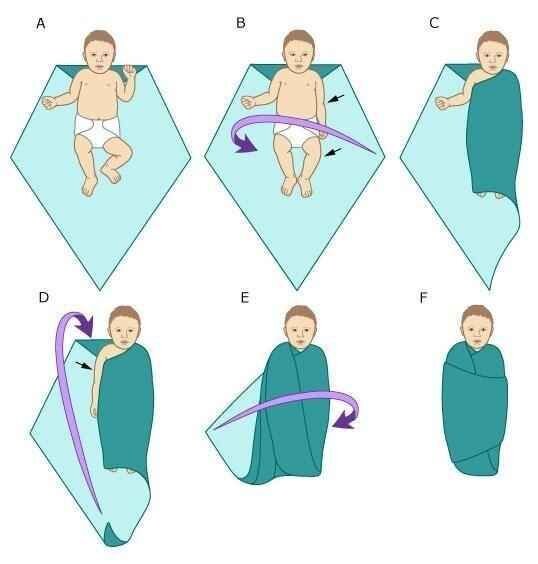
Cute infographic from Buzzfeed.
Step 3 - Shoot
Remember to incorporate several angles to tell a broad story about how precious your new baby is.
Angles to use: from above; lean over and get a shot of Baby’s whole body then lean a little closer and get just Baby's face. From the side; again for the whole body and then just his face, remember to get his profile.
When shooting Baby’s face, make sure his forehead is angled ever so slightly downward to avoid shooting up the nostrils.
Also, be aware of where you are standing and make sure you aren’t blocking the light or making a shadow.
SAFETY TIP- When shooting from above - keep your camera strap around your neck for safety. This prevents you from dropping your camera.
SAFETY TIP- Always have someone with their hand on the baby in between shots and always within arm’s reach for safety.
BONUS CONTENT
For more direction on using your camera in manual mode, we are having a free manual mode mini-course in Key Moments VIP Facebook Group this week!
Attention iPhone users- Pic Tap Go is an excellent iPhone photo editor. I typically use the following adjustments on all of my iPhone photos: crispy, brighten and warm up on half opacity. It’s a breeze to learn and use. You can even edit multiple images with the same recipe!
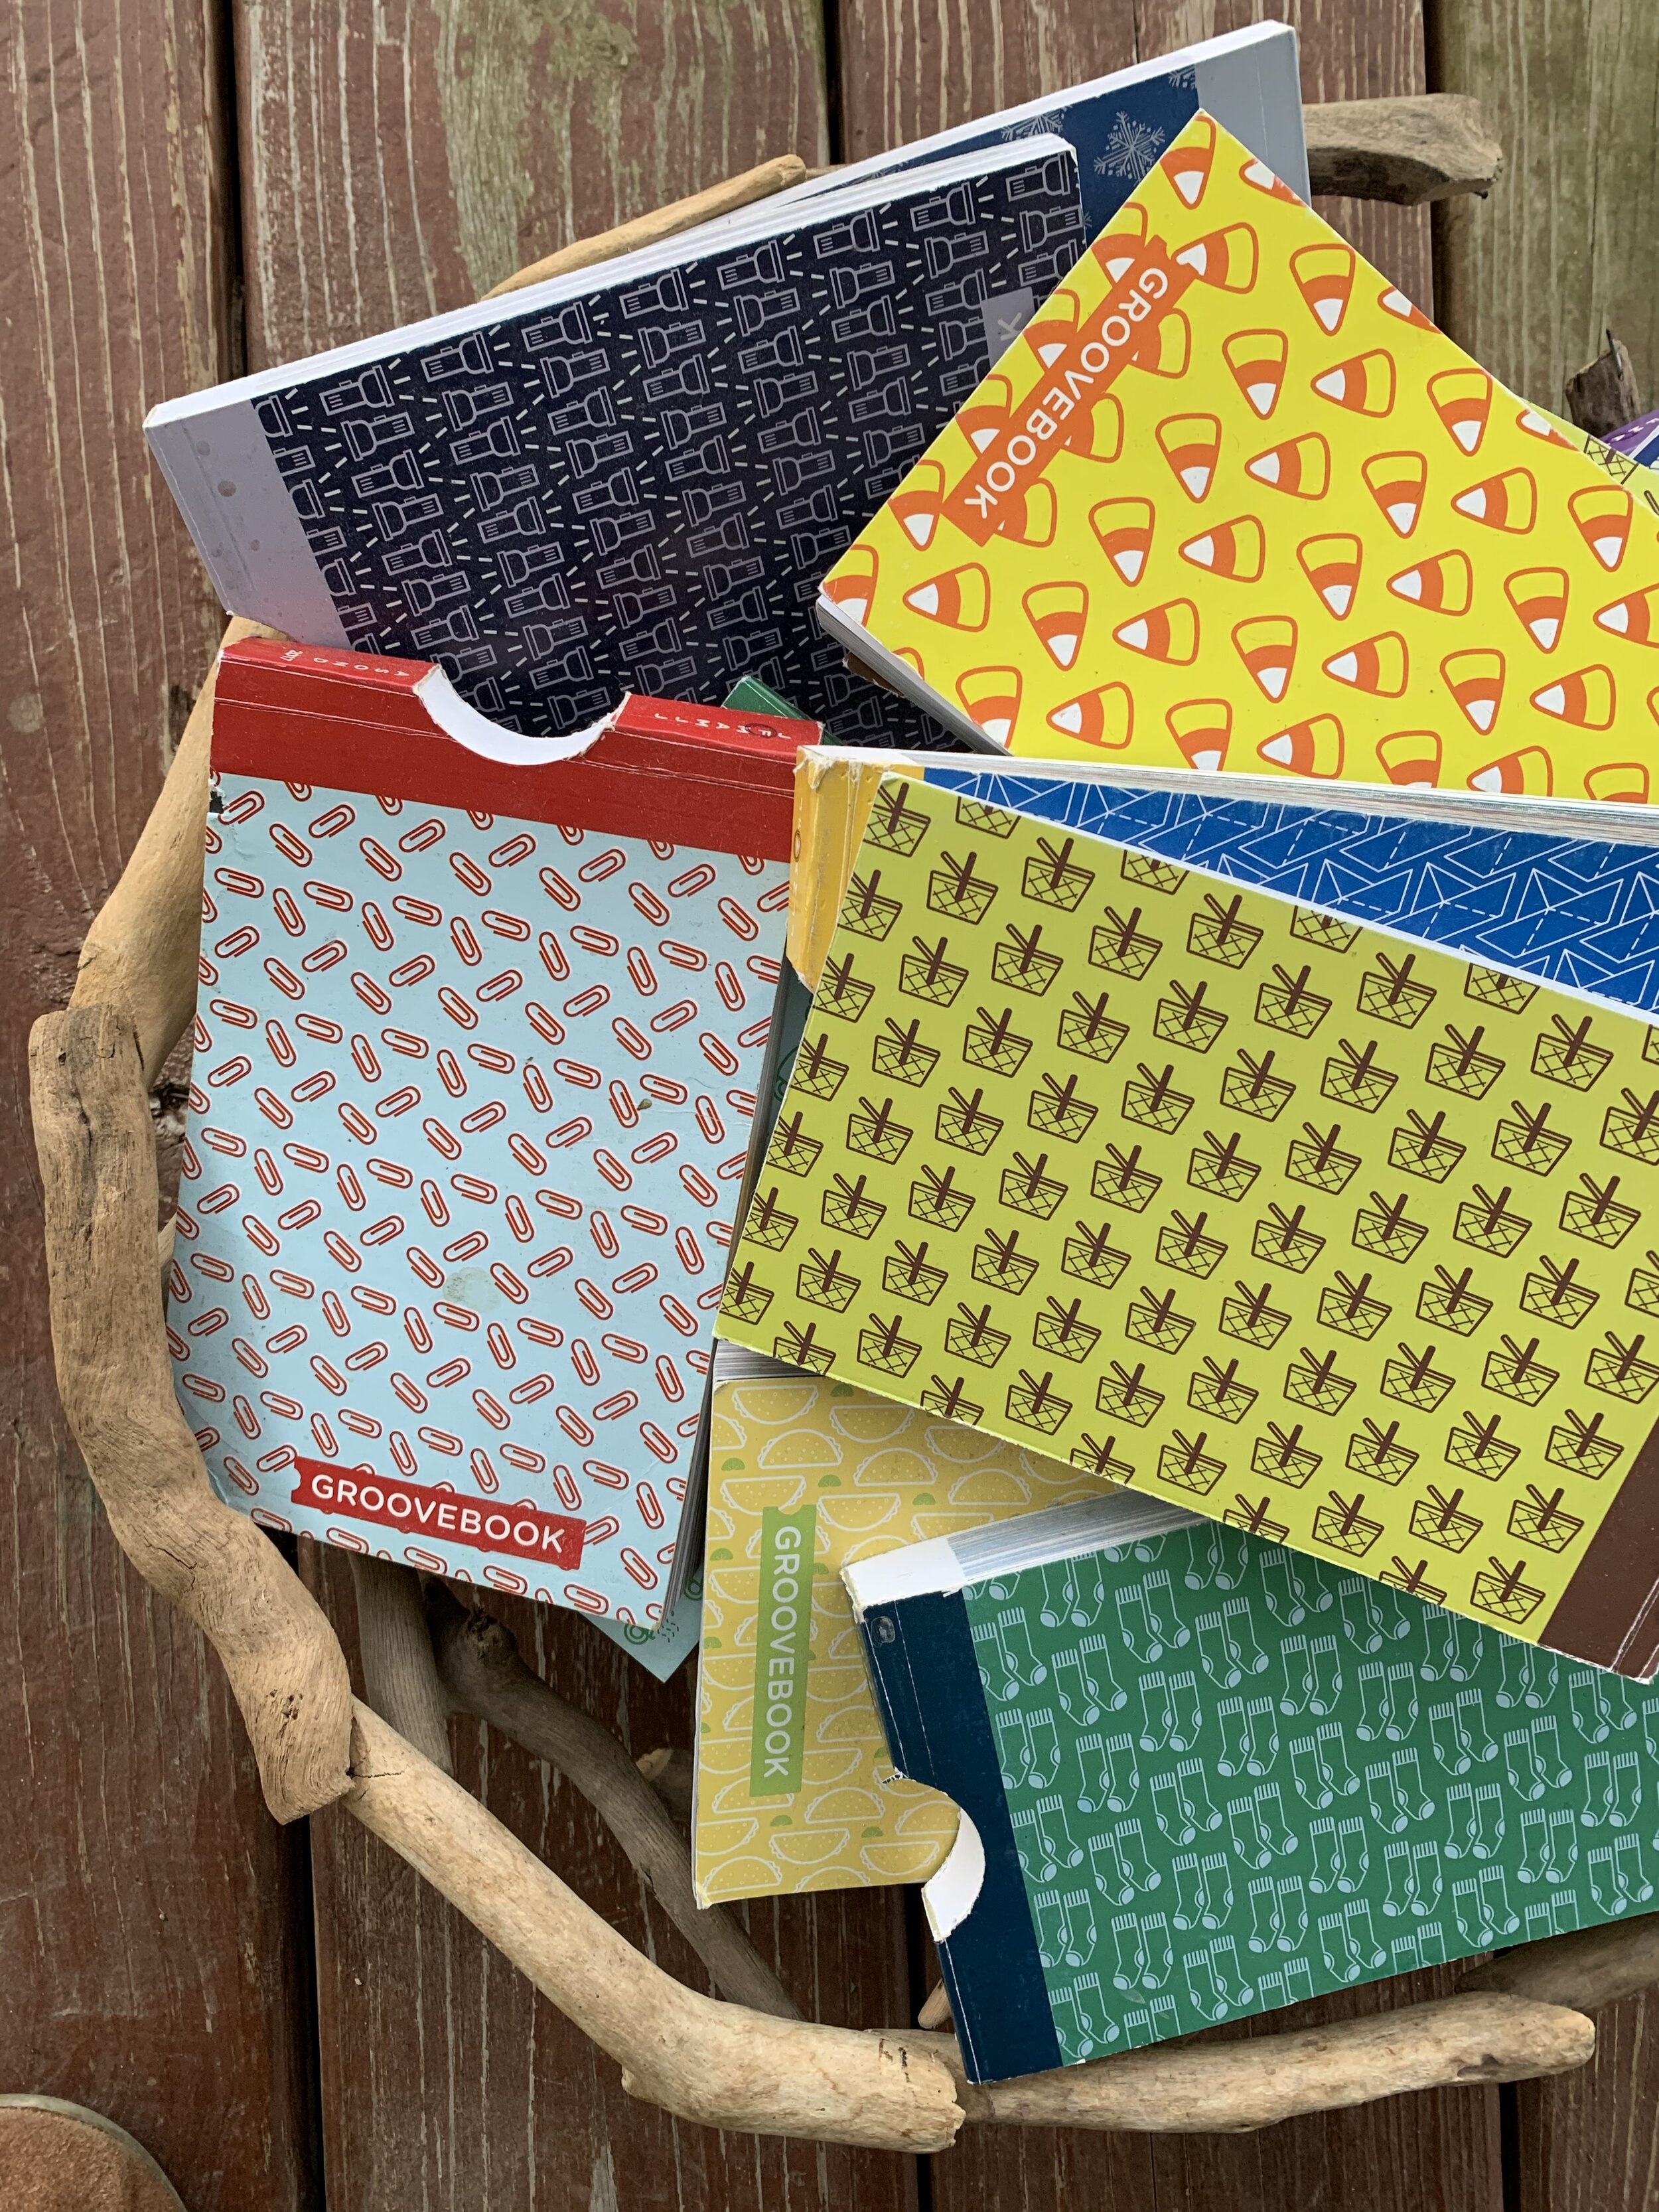
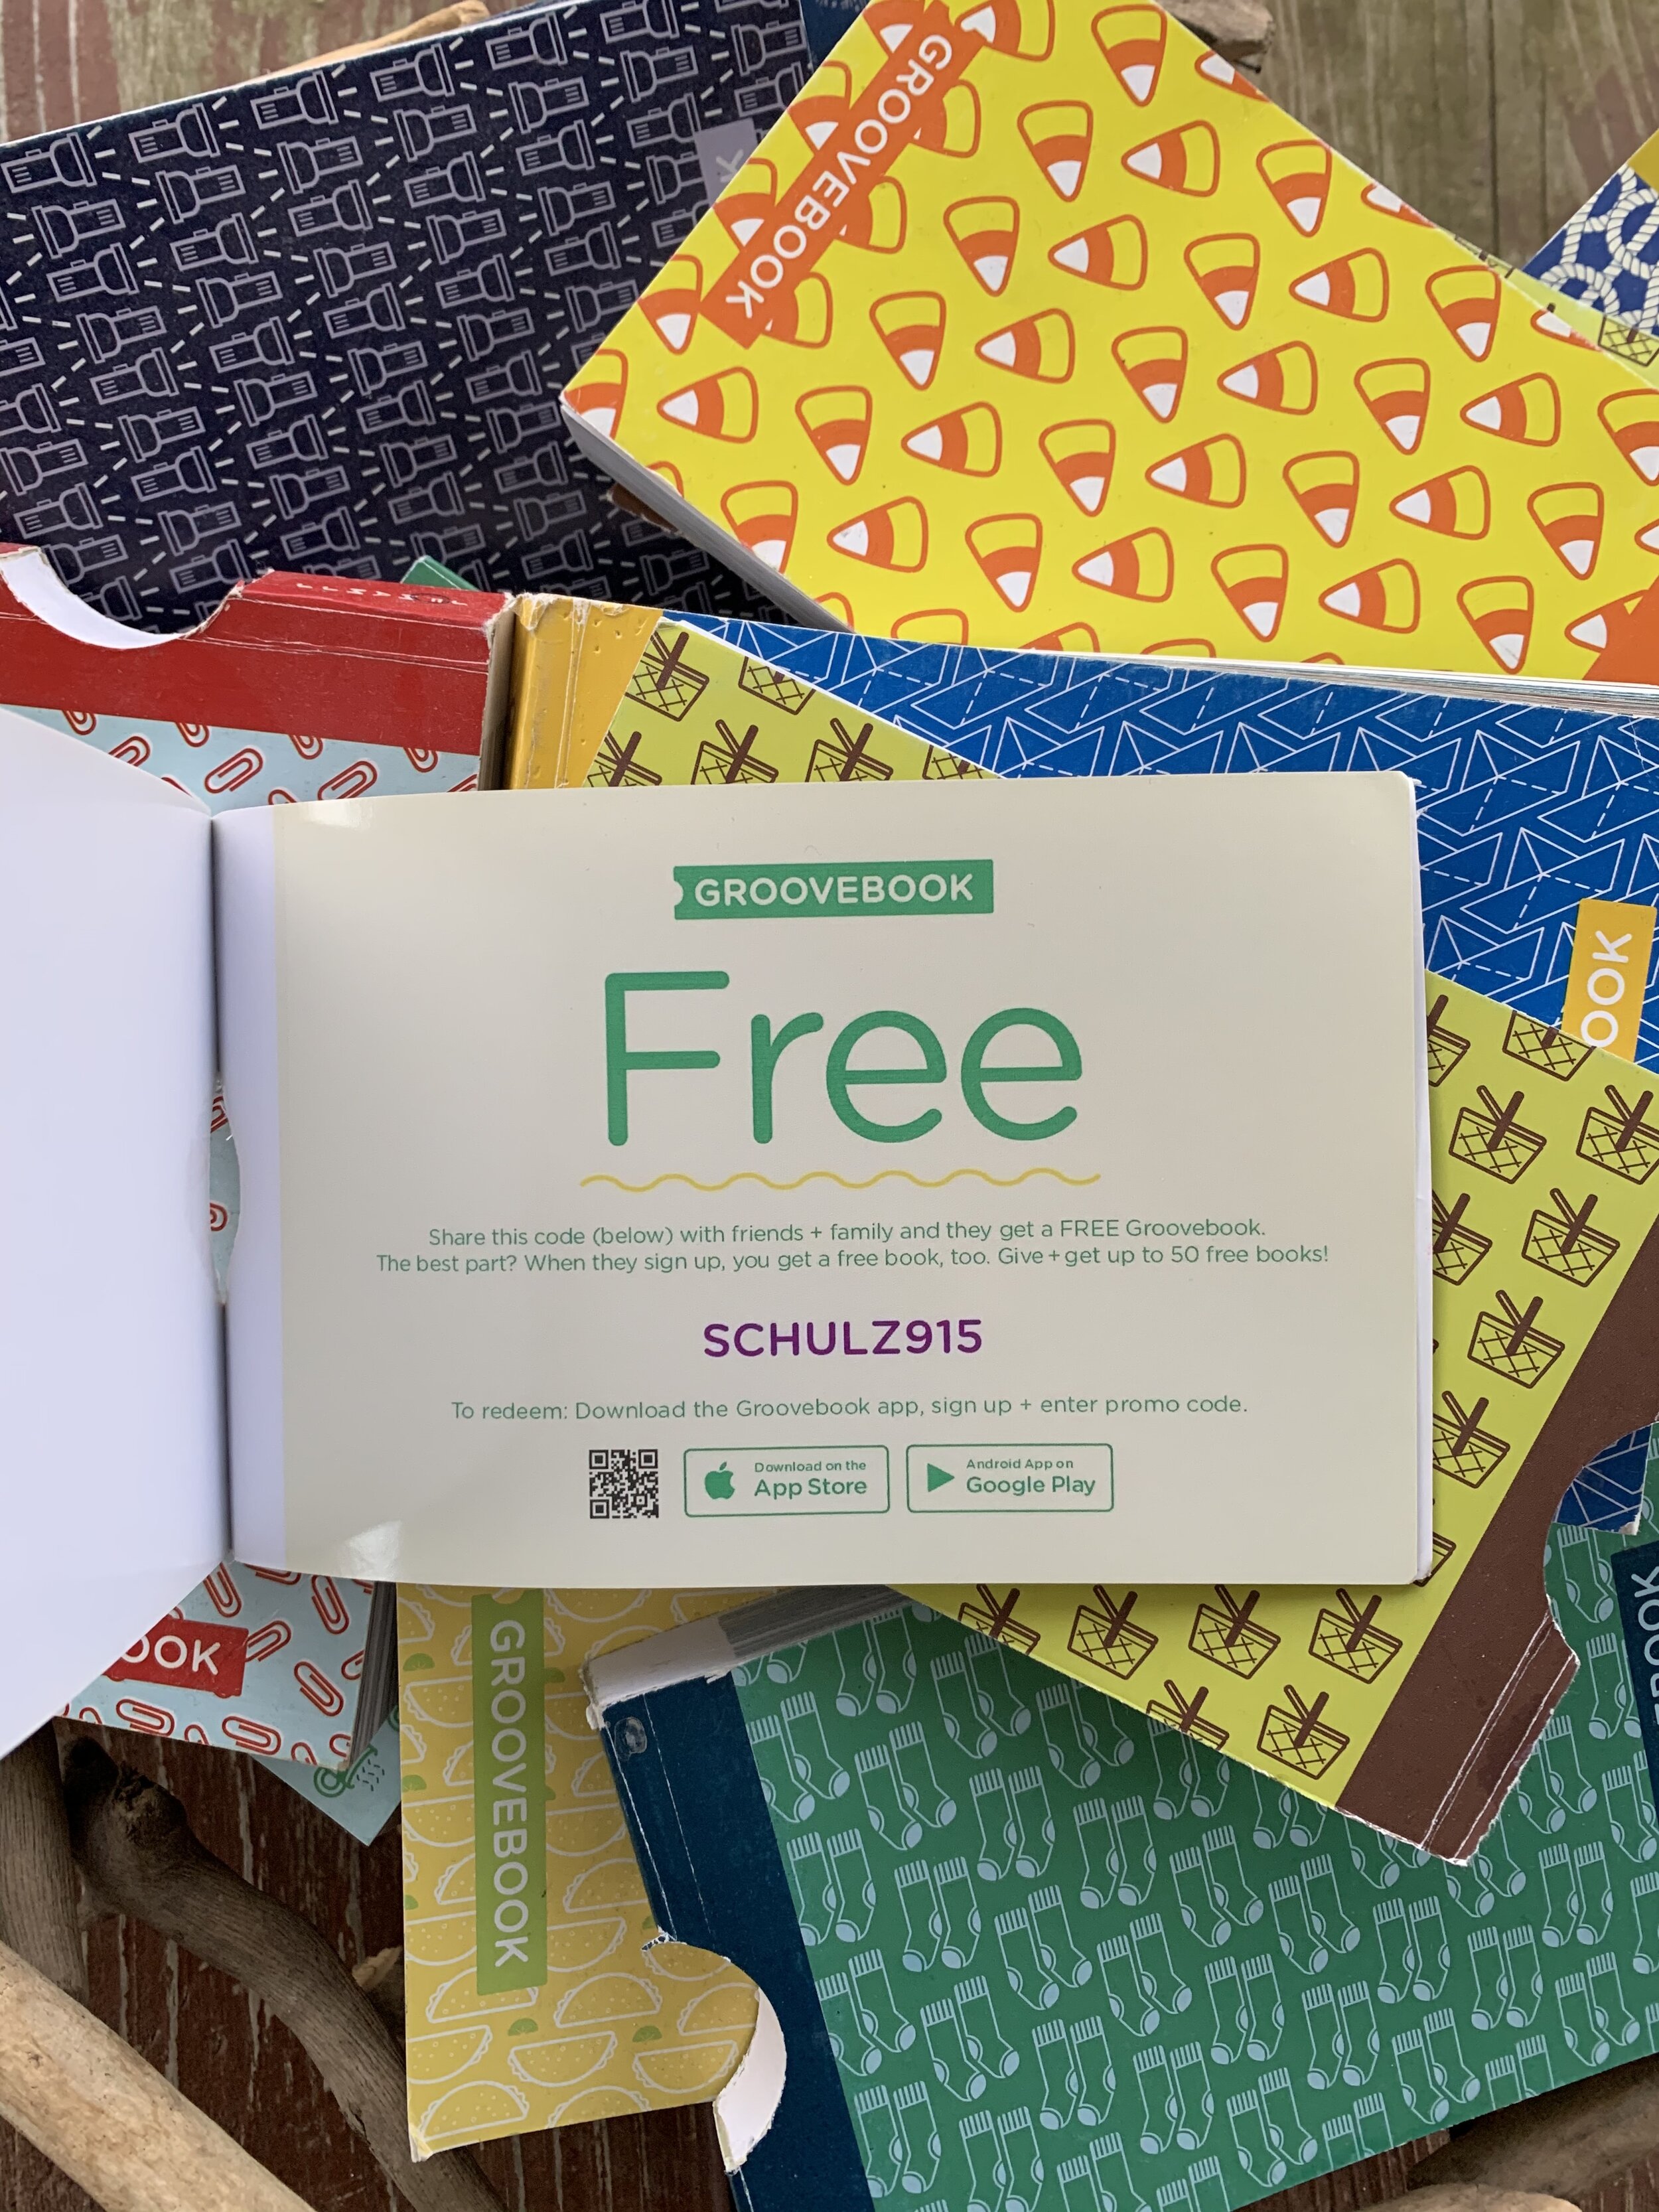
For everyone- you are about to have a ton of pictures on your camera roll! Groovebook is an awesome app that gets images off your camera roll into print. It’s an adorable book shipped to you monthly with 100 4X6s for less than $5! The best part is the pages are perforated. I like to order duplicates of any images that have a family member or friend in them and send them a copy in the mail! You can find GrooveBook in the app store. Make sure you use my code “Schulz915” to get your first book free!
I hope you found this article helpful, let me know in the comments below! Also, I would love to see your newborn images taken using these tips, don’t forget to share!